How to make a first aid kit box
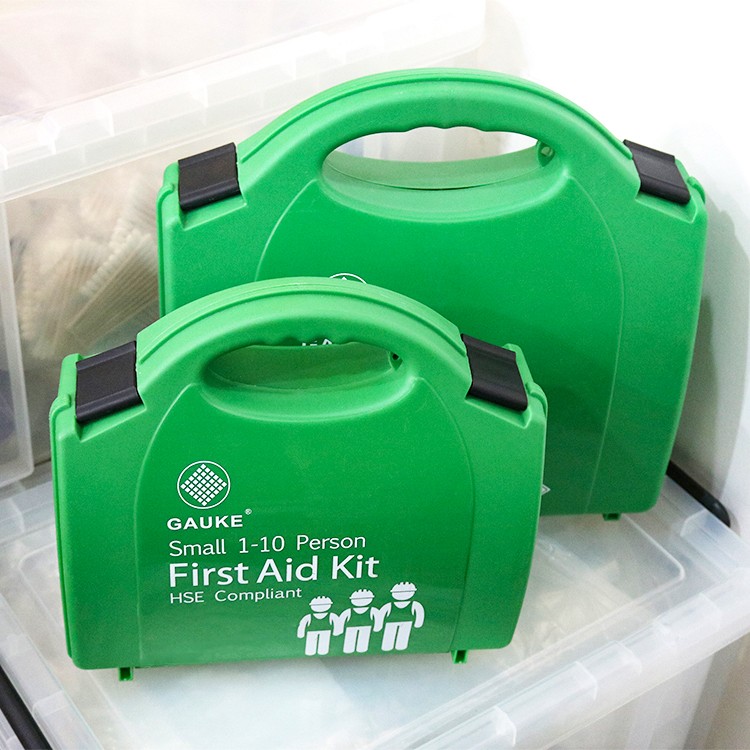
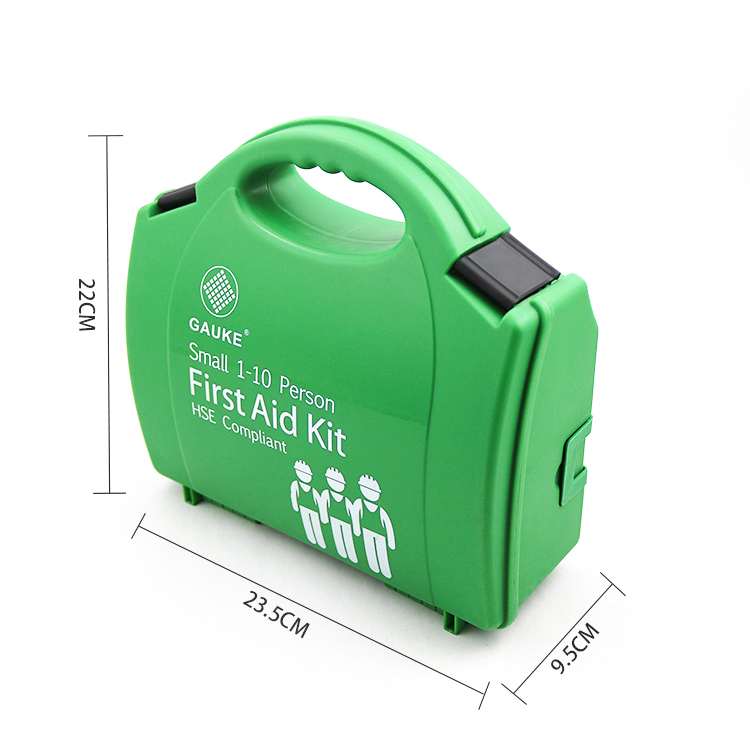
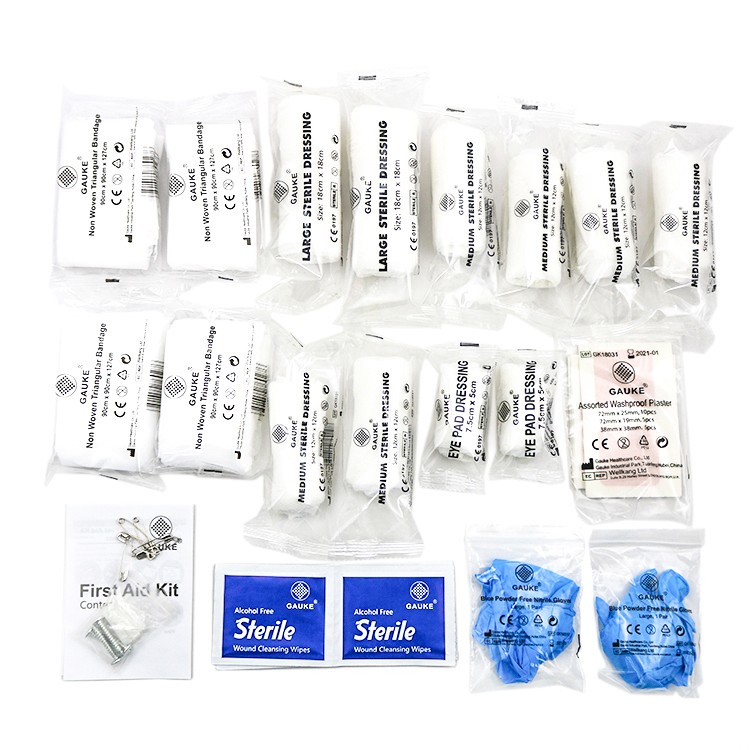
Making a first aid kit box can be a useful and practical activity. It is important to be prepared for accidents and emergencies, and having a well-stocked first aid kit can be a lifesaver. Here's how you can make your own first aid kit box:
Step 1: Get a box
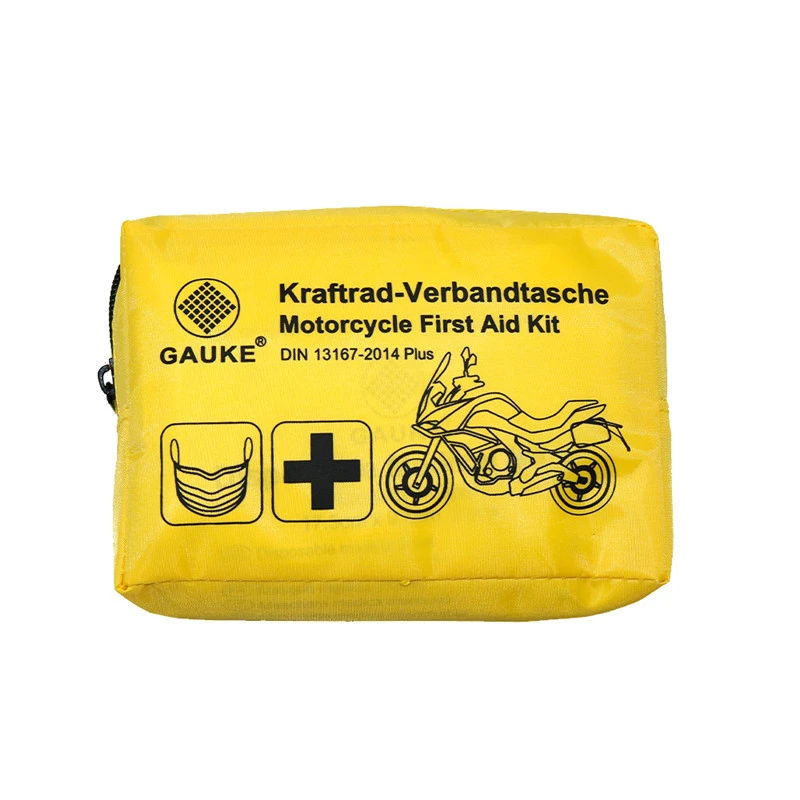
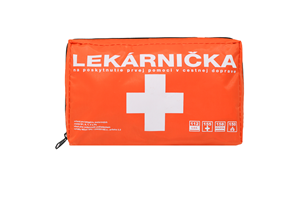
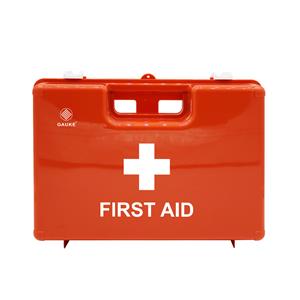
The first step is to choose a suitable box to hold all the items you need for your first aid kit. You can choose any size or type of container, depending on your preference and the number of items you want to include. A plastic container or a metal tin can be a good choice.
Step 2: Gather your supplies
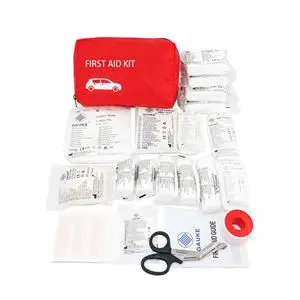
Next, gather all the supplies you will need to include in your first aid kit. These can include bandages, disinfectant wipes, gauze pads, adhesive tape, scissors, tweezers, pain reliever medication, antihistamines, and any other medication you may need. You should also include a first aid manual or instructions on how to use each item in your kit.
Step 3: Organize and pack your supplies
Now that you have all your supplies ready, it's time to organize them and pack them into your box. Be sure to place the items you will need most at the top of the box, so they are easily accessible in an emergency. You can also label each item to ensure that everything stays organized.
Step 4: Store your first aid kit box
Once your first aid kit is packed and organized, you need to store it in a safe and accessible place. You should choose a location that is easily visible and accessible, such as in a cabinet or on a shelf. You should also ensure that everyone in your household or office knows where the first aid kit is stored and how to use it.
In conclusion, making a first aid kit can be an empowering experience that gives you the confidence to deal with accidents and emergencies. By following these simple steps, you can create a personalized first aid kit box that meets your needs and is always ready when you need it.

